Adding a Folder Dialog

Folders
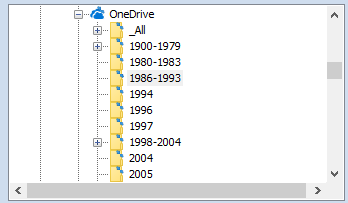
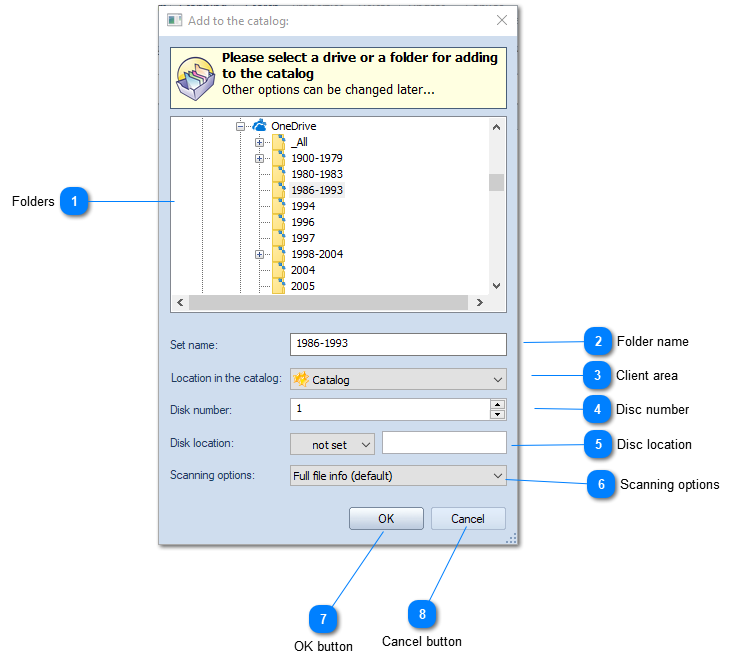
The list of folders available for indexing.
Top

Folder name

Using the edit box you can set the name to the folder as it will be shown in the catalog.
Top

Client area

Using the Location in the catalog combo box you can select where to add the new folder.
Top

Disc number

Using this field you can assign an unique number to each drive. The Disk Number is automatically incremented field. On the example above, the next value will be 273, then 274, etc.
Top

Disc location

Here you can set where the disc with the folder is physically located. It could be a physical shelf, cardboard box, CD binder, disc wallet or anything you want.
The Location field consists of two part: General Location and Sub Location.
General Location (or Location) means something that can be the same for several items, for example a cardboard box, or a disc wallet. The General locations can be managed by the location manager.
The Sub Location makes the location more exact. For example it may be the page number inside the disc wallet.
Top

Scanning options

Select the scanning options profile that will be used to process the current folder. WinCatalog remembers your choice for each folder you add and reuse this profile each time you update the folder.
Top

OK button

Click OK button to start scanning process
Top

Cancel button

Click Cancel button to close the dialog and cancel adding a disc
Top