Getting Started with AI Bridge
You need a local AI provider running on your computer before AI Bridge can do anything. It supports two: LM Studio and Ollama.
Step 1: Install a local AI provider
Option A: LM Studio (recommended for beginners)
LM Studio has a graphical interface for downloading and running AI models locally.
1. Download LM Studio from https://lmstudio.ai/ and install it
2. Launch LM Studio
3. Download a model:
Click the magnifying glass icon in the left sidebar (Model Search)

Type gemma-4-e2b in the search field or just leave this field blank, this model pops up as a recommended by LM Studio as well (this is the latest and most capable model from Google)
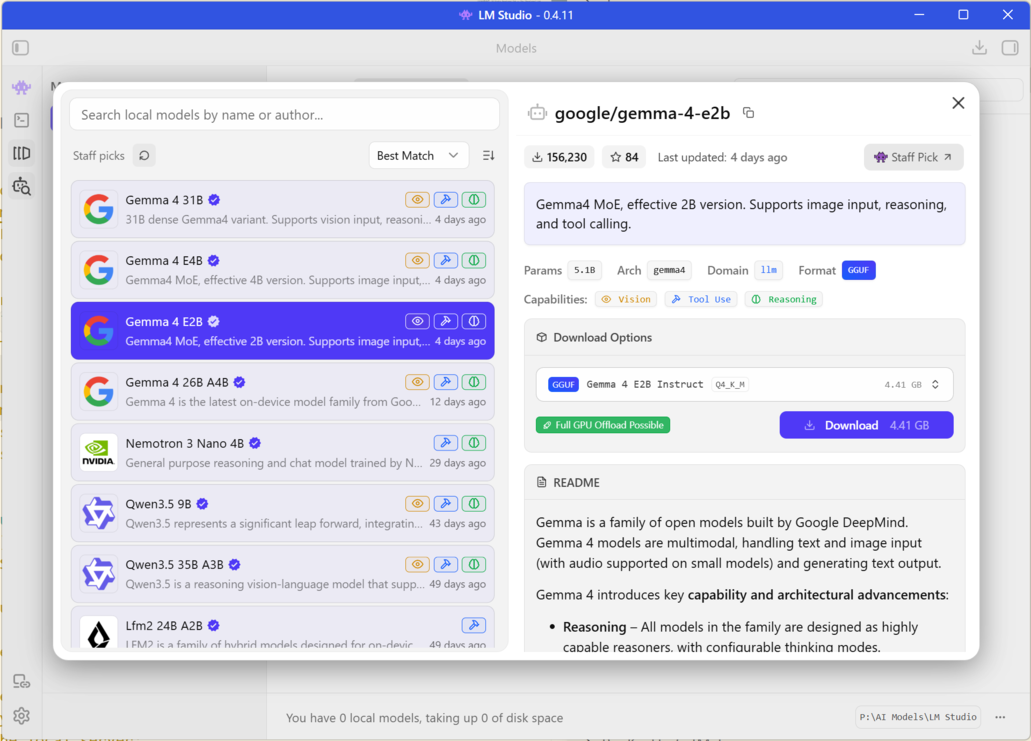
Select Gemma 4 E2B from the results. There are several download options for each model, the smallest Gemma 4 E2B Instruct Q4_K_M is enough:
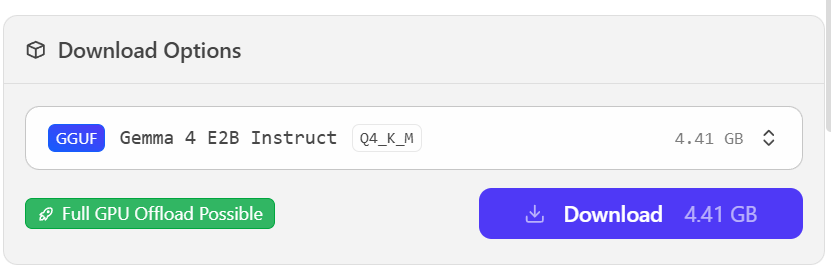
If LM Studio warns the model is “Likely too large” for your machine, search for LFM2.5-VL-3B (recommended alternative), qwen3 vl or gemma3 instead and pick LiquidAI/LFM2.5-VL-3B-GGUF, google/gemma-3-4b or qwen/qwen3-vl-4b.
Make sure the model has a yellow eye icon — that means it supports vision (image analysis), which AI Bridge requires

Click Download
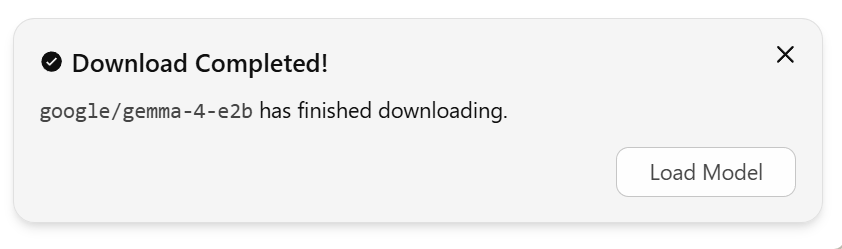
Once the download finishes, click Load Model to load the model into memory
Start the local server:
Click the Developer tab  (or Local Server section) in LM Studio
Click Start Server — the server runs on port 1234 by default

Step 2: Configure AI Bridge
Open WinCatalog AI Bridge and point it at your provider.
Opening settings
Start WinCatalog and open AI Tools tab on the Ribbon toolbar.
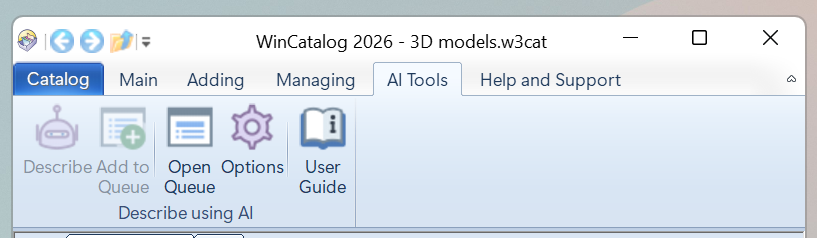
Click the Options button to open AI Bridge Options window.
Provider settings
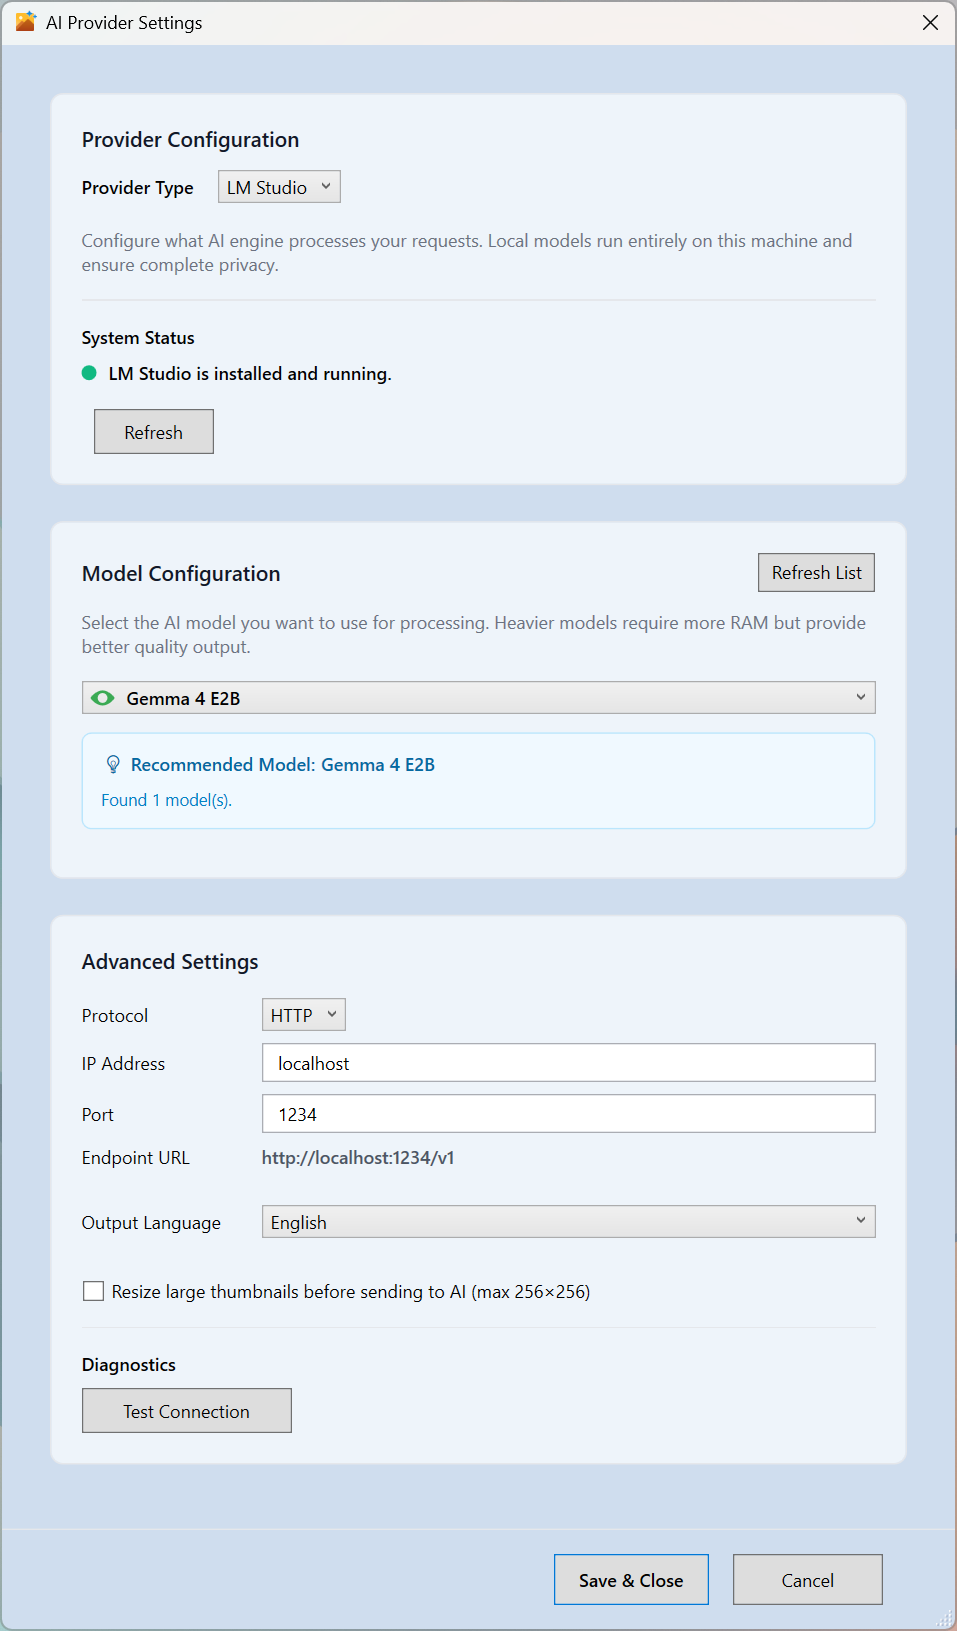
| Setting | Description |
|---|---|
| Provider Type | LM Studio or Ollama |
| IP Address | localhost by default; change this only if the provider runs on a different machine |
| Port | 1234 for LM Studio, 11434 for Ollama |
| Endpoint URL | Filled in automatically from the settings above |
Custom Instructions
What it does
Custom Instructions is an optional text box in the AI Bridge Options window. Whatever you type there is added to every AI request, on top of the built-in prompt. Use it to set standing preferences for how the image descriptions are written. For example:
- “Focus on lighting and composition.”
- “Always mention brand names and product models when visible.”
- “Keep descriptions short, one sentence.”
- “Describe the mood and color palette.”
How it works
Your text is passed to the model as extra user preferences. The AI is told to follow them wherever they don’t conflict with the structured output WinCatalog needs, so your guidance changes the wording and emphasis while the descriptions still come back in the right format. Leave the box empty to use the default behavior.
Status indicator
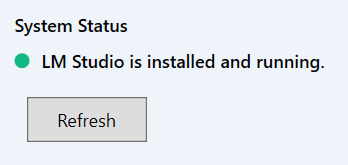
The status section shows whether your provider is reachable:
-
Green — installed and running
-
Yellow — installed but the server isn’t running (click Start Server to launch it)
-
Red — not installed or not reachable
Picking a model
-
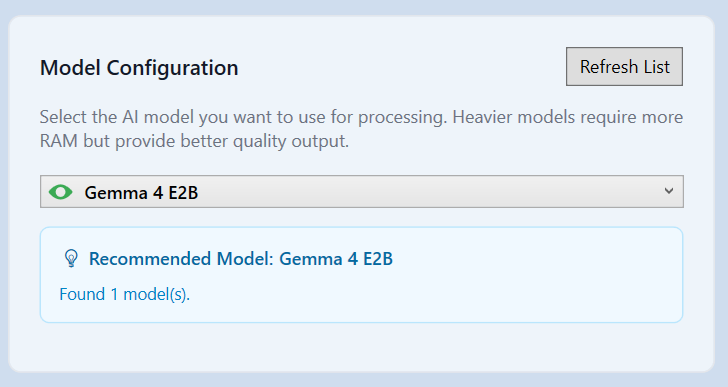
Click Refresh List (or wait for the list to populate on its own)
-
Pick a model from the dropdown
-
The green eye icon indicates that the model supports images
Output language

The preferred language is selected automatically based on WinCatalog UI language, bug you can override this selection and pick any other language for generated descriptions. If your language isn’t listed, select Other and type the language name.
Resize large thumbnails

To speed up an LLM when working with large images, you can reduce them to 256 pixels. That should still be enough to correctly recognize objects and scenes, while making the process faster.
Test the connection
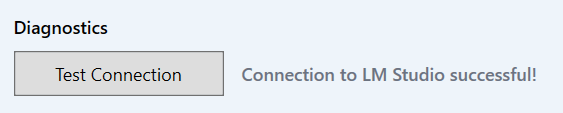
Click Test Connection to check that AI Bridge can talk to the provider. You’ll see a confirmation if it works.
Step 3: Done
Once the status dot is green and you’ve picked a model, AI Bridge is ready. See Interface and workflow for how to queue images and start processing.