|
Workind with WinCatalog is easy as
following 12 steps:
- Creating a new catalog
- Scanning a
disk
- Scanning a
folder
- Adding a
file.
- Adding a
virtual folder.
- Adding a
custom record.
- Adding
keywords.
- Linking
keywords to items.
- Adding a new
user
- Lending a
disk to a user.
- Looking up
the lent disks
- Saving the
catalog
1. Creating a new catalog.
 |
Select the File | New menu item to create a new
catalog. |
2. Scanning a disk
 |
Select the Edit | Add new volume menu item to
bring up a new dialog box and select a disk to add it to the
catalog. |
3. Scanning a folder
 |
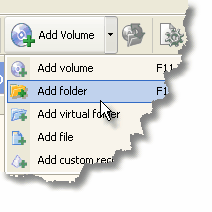
Select the Edit | Add new folder menu item to
bring up a new dialog box and select a folder to add it to the
catalog. |
4. Adding a file.
 |
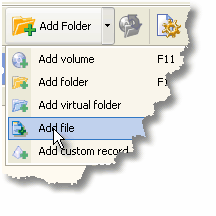
Select the Edit | Add file menu item to bring up a
new dialog box and select a file or a list of files to add it to
the catalog. |
5. Adding a virtual folder.
 |
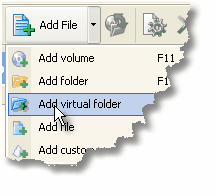
Select the Edit | Add virtual folder menu item to
add a virtual folder to the catalog. Give it a name and hit
Enter. |
6. Adding a custom record.
 |
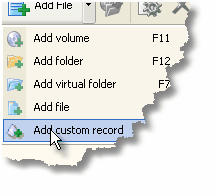
Select the Edit | Add custom record menu item to
add a custom record to the catalog. Give it a name and hit
Enter. |
7. Adding keywords.
 |
Select the Edit | Keywords menu item, press the
Add button, enter a keyword and press OK in the pop-up dialog box.
Repeat the operation for every keyword you want to add and close
the Keywords dialog box. |
8. Linking keywords to items.
 |
Select an item or a group of items in the
left or right pane of the main application window and select the
Edit | Properties menu item (Note: you can perform this operation
using the pop-up context menu). Click on the Keywords tab in the
properties window, select a required keyword from the drop-down
list, and press the Add button, to link it to the item. Repeat the
operation for each keyword you want to link to the item. Also you
can perform this operation by dragging the selected item(s) on a
required keyword in the left tree.
|
9. Adding a new user
 |
To add a new user, select the Edit | Contact list
menu item. Press the button to bring up a new dialog window, enter
the new username and press "OK". A new user is created. Close the
"Contact list" window. |
10. Lending a disk to a user.

|
To lend a disk to a user, select the disk you are
going to lend and then select the Edit | Lend to… menu item. A new
dialog box will appear. In this dialog box select the user you are
going to lend the disk to, and press the OK button. The lent disks
are marked with a special icon (hand). Note: you can use the
context menu to perform this operation or drag the selected item(s) on a required user in the left
tree. |
11. Looking up the lent disks

|
The lent disks are marked with a special icon
(hand, see screenshot). The username is displayed in the "Lent to"
column in the right panel of the main window. You can also view the
list of lent disks by opening the Contact list and selecting the
corresponding user (lent volumes will be displayed in the bottom
part of the Contact list). |
12. Saving the catalog

|
Select the File | Save menu item to save the
catalog. |
|